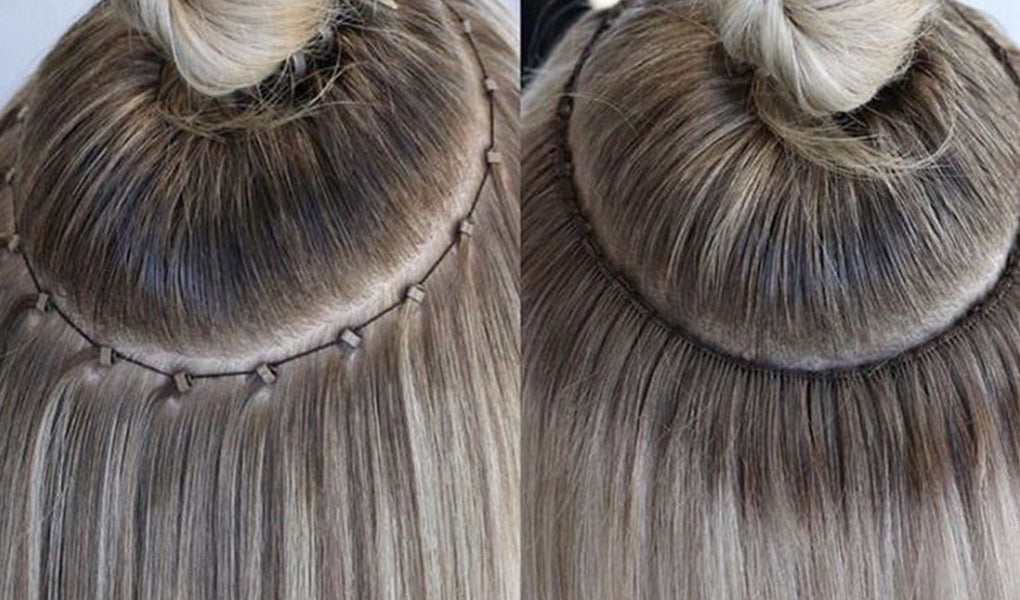
Weft hair extensions are one of the most versatile ways to add volume and length to your hair. Whether you're looking for a temporary or semi-permanent solution, there's an installation method for everyone. In this guide, we'll explore four different ways to apply weft hair extensions—Sew-In, Clip-In, Micro Link-In, and Glue-In—so you can choose the best method for your hair type and lifestyle.
1. Sew-In: The Long-Lasting, Secure Method
Perfect for: Thick, coarse hair types and those looking for a long-term solution.
Sew-in extensions offer a natural and secure hold, making them a great choice for those who want a more permanent look. To install:
- First, create a foundation by braiding your natural hair into cornrows.
-
Use a curved needle and thread to sew the weft along the braided section, securing it in place.

Pros:
✔ Long-lasting (can stay in for weeks with proper care)
✔ No heat or glue required
✔ Blends seamlessly with natural hair
Cons:
✖ Requires professional installation
✖ Can feel tight or heavy if not installed properly
2. Clip-In: The Quick & Easy DIY Method
Perfect for: Beginners, those who want a temporary, damage-free option.
Clip-in extensions are the easiest and most user-friendly way to add volume and length in minutes. To install:
- Part your hair and measure the weft to fit the section.
-
Attach the clips to the weft and secure them onto your natural hair.

Pros:
✔ No commitment—put them in and take them out anytime
✔ Easy to install at home
✔ No damage to natural hair
Cons:
✖ Needs to be removed before sleeping or washing hair
✖ May not hold as securely as other methods
3. Micro Link-In: The Heat-Free, No-Glue Option
Perfect for: Those looking for a semi-permanent, natural-looking extension method.
Micro link extensions (also called micro bead or micro loop extensions) offer a flexible way to install wefts without glue or thread. To install:
- A small section of your natural hair and the weft are threaded through a tiny microring.
-
The microring is clamped shut to hold everything in place.

Pros:
✔ No glue, heat, or braiding required
✔ More natural movement and flexibility
✔ Can be reused with proper maintenance
Cons:
✖ Requires professional installation
✖ May slip if not properly secured
4. Glue-In: The Quick & Seamless Look
Perfect for: Special occasions or those who want a sleek, natural blend.
Glue-in extensions provide an instant transformation with a smooth, natural blend. To install:
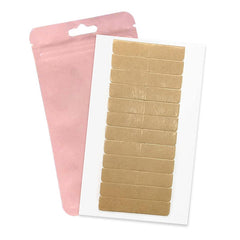
- Apply hair extension glue to the upper edge of the weft.
-
Press the weft against the glued section of your hair and hold until it dries.

Pros:
✔ Quick and easy application
✔ Blends well with natural hair
✔ Great for temporary use
Cons:
✖ Can cause damage if not removed properly
✖ Requires regular touch-ups
Which Method is Best for You?
For a temporary look: Clip-in extensions are the best choice.
For long-lasting wear: Sew-in or micro link extensions offer a more secure fit.
For a seamless, natural blend: Glue-in extensions are a great option for short-term use.
No matter which method you choose, weft hair extensions are a fantastic way to enhance your hairstyle. Just be sure to care for them properly to keep them looking fresh and beautiful!


Kommentar hinterlassen